[paypal-donation purpose=”Photoshop Tutorials” reference=”Postprocessing”]
This is an instructional video which I recorded to show burn and dodge automation for your photos in Adobe Photoshop. Almost every photo, included those processed by HDR technique, needs to add such level of higher contrast. Higher contrast means lighter parts are lightened (dodge), darked parts are darkened (burn).Adobe Photoshop offers special tools for dodging and burning, however in this tutorial those tools are avoided. Instead, you will see fully non-destructive way of postprocessing for making better contrast. Everything what you need for it, it is creating two additonal layers, one filled with white color for dodging and second one filled by black for burning parts of image.
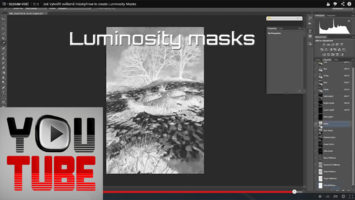
The effect is limited to right parts of the image because of using special masks for highlights and shadows. Adobe Photoshop CS5 and CS6 offer menu options for creating these types of masks. If you have previous versions of Adobe Photoshop, or you want to play with masks you can use luminosity masks from my previous tutorial.
The video is recorded in Czech and it has English subtitles. The whole procedure is demonstrated on my HDR image of Brooklyn Bridge, New York City, exposed during winter sunset.
If you like this tutorial, please help me to adjust content of further tutorials by voting for tutorial topics in the following poll. You can select more options and you can also request one your topic. Thank you so much for voting.